Showing posts with label MYO. Show all posts

Tuesday, November 5, 2013

I'm not dead yet... I feel HAPPY - and thoughts on food storage quantities :) with judicious use of the phrase A. LOT.

It's inspired by this post over at Lehman's:

I've been (and still am to some extend) finishing up the last (HAH!) of the harvest and stock up for Winter putting up chores and have consequently been buried in the kitchen and basement.

Our simply overwhelming apple harvest. Yup, that's all of it. It's a 3 year old tree, so We're actually quite thrilled.


One of the things that goes into preserving the harvest/ shopping frugally/ not running to the store every 5 seconds (or every week, which to me seems like every 5 seconds) is planning what you are going to have on hand.

I have tried doing the meal plan thing before and I failed miserably, because no matter how thick the writing on the meal plan saying it's bean casserole night is underlined, what we both really want tonight is pizza. And that's just for the two of us, I can't imagine what that sort of thing is like when there are more people involved in the 'but I'm really in the mood for X' discussion. And let's face it, just because we eat frugally doesn't mean that we want to (or should) feel deprived in any way. Feeling deprived (as opposed to depraved, which is the norm around here) is what leads to bingeing, which leads to feelings of guilt, which leads to austerity, which leads to bingeing and so on and so forth, ad nauseam.

Self-defeating is the word I was looking for there.

One of the pitfalls of starting to eat frugally is that one might be tempted to buy cheaply and in bulk, only to learn that what one (me, alright, it was me) has stocked up on a bunch of stuff noone wants to eat. That's known as 'Not a Bargain for Us'.

Two things: Buying in bulk requires an initial outlay of funds for the larger quantities one buys, so there is usually a 'saving up for it' period involved. Use that time to figure out not only what you actually consume (toilet paper is a relatively safe bet here) and, and this is kind of important, how much of it you consume over a given period of time.

I just accepted a delivery of 100lbs of flour, 50 lbs of whole wheat stone ground and 50 lbs of white all purpose, so I'll just go ahead and use that as an example.

I bake A LOT in the colder months. Think at least four loaves of bread, two loaves of banana nut bread*, at least one batch of cookies (it's the season, don't you know), a batch of garlic cheddar biscuits and pigs in a blanket, usually an apple coffee cake and sometimes a batch of English Muffins or tortillas if I am feeling adventurous. That's every week. Now some of that goes into the freezer for the summer months, when I not only don't want to heat up the house by baking, but also don't have the time to do anything other than deal with the garden, but on average, I go through about 8 lbs of flour a week during baking season.

So those 100lbs are going to last us until Early February or a little more than 3 months.

We may have some kind of carb addiction going on here...

I no longer know what non-bulk, non-bromated flour costs, but I got this stuff for $0.56 per lb including the shipping, which is slightly more than I could spend for bromated flour at GFS in the 50lb bag, but I'll go with the non-pesticide option for as long as the extra ~$0.005 per pound and the shipping can be absorbed into the budget.

Now, if you are not baking all of your own bread and cookies and cakes then buying 100lbs of flour might not be for you. Here's why: That stuff doesn't last forever. Actually, it'll last about 3 months in my constant temp and relatively stable humidity basement or 6 months in the freezer before it goes stale and/or rancid. And would you look at that, that's about as long as it'll take me to use that all up. How fortuitous. It's almost like I planned it that way...

Another good example for us is tomatoes. We use a lot of them. A. LOT.

Before I started growing and preserving my own we went through about four #10 cans of whole peeled tomatoes a month. In order to replace that level of consumption with organic, home grown, non-BPA canned tomatoes I would have to can roughly 200 quarts of tomatoes. That's not happening for several reasons:


  1. I'm lazy (remember this, it's sort of a theme here)
  2. That's 200 quart jars I have to buy just for the tomatoes, and while I probably will get there eventually, it's not an investment we are able to make up front.
  3. If I suggested to the hubbin that we need to can 200 quarts of tomatoes he would either have a coronary right then and there or seed the garden plot with grass seed, or both.
  4. That's a lot of room to dedicate in the pantry. More room than we can allow for it, in fact.
  5. Canning 200 quart jars would be 29 canner loads for me. I could probably pull it off during tomato season, but see #1 (told you to remember that one) and there are other things to take care of at that point in time. 
Dehydrating to the rescue :D

I can some tomatoes, because you just can't beat that taste and texture for some things.
I throw some of them into the freezer, because it's easy and we have a lot of them.
I dehydrate A. LOT. of them. Because when I make a sauce, stew or soup, having some dehydrated tomatoes to throw in there is wonderful. And a pint of dehydrated tomatoes is about equivalent to two #10 cans :) Look at all that room I am not using for tomatoes :D

I didn't one day decide that I would need 50 quarts of canned tomatoes and 100lbs of flour every three months, it took some watching what we actually eat, some math, some looking at grocery receipts and figuring out when we use what. And it took me a few years to figure out that that 50lb bag of flour I bought in December went a lot faster than the one I bought in August. It's a journey, and you have to pay attention to things you may not usually even think about.

Beans are a prime example of this for us. I used to not cook with beans that much, because I bought them dry and they are sort of a pain to deal with that way, but SOOOO much cheaper. Then I heard about a trick where you soak a whole bunch and then freeze them in portion sizes, so you just have to defrost them to have pre-soaked beans ready to go. Only that's a pain in the rear, too, because thawing that lump-o-frozen-beans takes forever without application of some heat, and you may recall that I am what is colloquially known as way too cheap to do that.

Then I started canning them without pre-soaking them (here) and suddenly we are eating more beans than you can shake a stick at. And I started running out of beans, so I started buying them whenever I saw them for my stock-up price (under $1.00/lb) anywhere...We have a lot of beans right now. Dried, and canned. 

A. LOT. 

There's actually more in the basement and I took this pic after I canned a bunch. I may have a problem.


It's OK, because they are not going to go bad before we use them up. But I will have to figure out how much we actually consume, so that I can then adjust my purchases to meet our actual demand without having a years worth of beans sitting around. Because having a few hundred bucks tied up in food that might go bad before we eat it is not frugal or smart. And it sort of ticks me off when I do it.

Quick aside: Rotate your food and your tires. In shuffling a bunch of jars in the basement I found some dried bell peppers from 2010. They are still good (Thank YOU) and are now actually ground into a fine powder and in the spice cabinet for use as paprika (YUMM). I just hate finding stuff like that because it means I didn't do due diligence. First in, first out and stock from the back, B. you know this :)

You know how when you were in school and you asked when you would ever need all this math stuff? My mall rat, colour guard, designer clothes wearing, snobby self would have laughed if someone had used this as an example.

That's all I got for now,
Happy Pinching


*I buy bananas when they go on sale in the summer and prep them for banana nut bread by putting 6 of them in a bag, adding cinnamon and freezing them as flat mush

Monday, October 7, 2013

Pressure canning dry beans - My no-soak, no-pre-cook method

This is what a lot of my recipes look like. Thorough, no?

OK, it's that time of year, where I still refuse to turn on the furnace, still have the windows open all day and night and the thermostat reads in the low 60s for most of the day. I've taken out the sweaters and there's two comforters on the bed.

CHILI WEATHER.

Only problem is, I went down to the basement and lo, there were no more canned beans. Only dry. A lot of dry. I hate cooking with dry beans, it takes forever and it's really rather tedious.

So while I was down there I grabbed a few jars of dry beans (I don't leave them in the bag they come in) and the pressure canner. OK, it actually took three trips, it's how I get my exercise.

WARNING: This is not the USDA recommended method, it is how *I* can dry beans. I find it to be easy, simple and effective. I can see no way in which it would be bad or not work if you follow these instructions, it produces what is to me a firmer and better end product than the recommended version of soak, cook, then can, which makes for (again, to me) soggy, mushy beans. If you do not feel comfortable canning beans this way or if you prefer your beans softer than this, please refer to the USDA guidelines, even with soaking, cooking and then canning beans you will save money and time and have a product that is healthier than commercial canned goods with additives you don't want or BPA in the can.

Here's the procedure:

Assemble: Beans (any kind of dry beans will work, in this instance I am using navy beans and chick peas), clean jars and lids and rings, pressure canner (you must not water bath can this, beans are a low acid food and will not be safe to eat if water bath canned), water, seasonings if you are so inclined, lid lifter, jar lifter, a few towels and a clean cloth.

Check your canner for functionality (nothing lodged in the vents, seal is supple, it's clean), this is different for every canner, so please follow manufacturers recommendations.

Put your jars into the dishwasher and run the drying cycle (I have mentioned that I am lazy, right?) or, if you don't have a dishwasher, put them into a sink of hot water. This is just to warm up your already clean jars.

Set your lids in a pot of water on the stove to simmer.

Sort and rinse beans (however many you are going to can,). I measure them before I rinse them and then again as I put them in the jars. Use a bit of vinegar in the rinse water if you are so inclined, I do to make sure they are clean.


BEANS!

sorting and rinsing the pre-measured beans

Let the beans drip dry while you line up however many jars you are planning on canning. Make sure jars are clean. It doesn't matter if you use wide mouth or regular mouth, I tend to use wide mouth because they are easier to get the beans out of when we use them, but as you can see, either works. Make sure to check your jars for cracks and chips, especially around the rim.

My canner takes 7 quart jars

Put about 3 inches of room temperature water into your pressure canner and set the bottom into it. Do not turn on the heat yet.

Fill each jar with either a half cup (for pints) or just slightly less than a cup (for quarts, seriously, like 3 beans less than a full cup) of rinsed beans. Add your seasonings (salt, onions, garlic, pepper, chili powder, up to you, I add a bit of salt, usually)

One tsp of salt per quart is all I add

Top off with room temperature water (I use filtered for this, because it will be what we eat) until there is an inch of headspace left.

Needs a bit more water (actually, the bottom of the ridge on the jar is an inch, but to make sure it's right I measure with the blue thingy that has a name I cannot recall right now)

Dip your clean cloth into the water you are simmering the lids in (careful, this is really hot) and wipe the rims of the jars clean with it.


It's a lid...uhm...magnet

Using your lid lifter, set your lids on the jars and finger tighten the rings. Finger tight means nicely tight, but not so tight that you are straining.

Place the jars in your pressure canner.


Once the canner is filled to capacity, close the lid and turn on the heat.

When you have vented steam for a solid ten minutes, put the weight on the vent and let the pressure build up.

This might be the best $10 I ever spent. It's an adjustable weight 5, 10 and 15lbs

When the pressure reads 10lbs*, start the timer (75 min for pints, 90 min for quarts)  and then keep the pressure at that level.

With the 10lb weight rocking and the pressure gauge reading at a solid 10lbs it's time to start the timer. 90 minutes for the quarts I'm doing 

Any adjustments you make to the temperature must be gradual, large drops in pressure will affect your product, you may lose moisture and the jars might not seal or even break.

When your timer goes off, turn off the heat and let the pressure normalize on its own. While that is going on,

Notice how the pop up button on the right is down, the pressure is down and the black safety valve is flat, that's what you wait for before taking the weight off and opening the canner. And be careful of the hot steam that is still in there.

Arrange a towel on your counter away from drafts, so that you can


set your jars on the towel when you lift them out of the canner to cool for about 24 hours.

The rings only look like they are on there sideways :) Also, I underfilled the jars a bit, not a big deal.

Wait for the ping.

In case you are wondering, YES, I'm a dork.

After a few hours you can check if the jars have sealed, tapping on the top is my preferred method, a sealed jar will sound a nice, high note, an unsealed jar will sound dull. Final test is trying to lift the jar by the lid if it sounded dull. And I tend to err on the side of caution and put the ones I am not sure about in the fridge for immediate consumption or the freezer for later (another reason to use wide mouth jars, they can be frozen).

Quick before they all seal:
Sound test of a different kind

Take the rings off for storage! Always take the ring off for storage of canned goods.
Crud accumulated under the ring can cause mold and rusting and if the ring is on and the jar didn't seal right it can hold the lid in place while the contents ferment and then re-seal, and that's the kind of thing that can (will and has) kill people. Don't eat canned goods that have the rings still on. Not worth it.

Voila, canned beans. With ingredients you can pronounce. And really quite easy to do.

Quick bit of math:

One pound of beans runs anywhere between $0.89 and $2.49 around here, I don't buy them at more than about a dollar on principle, but in the interest of fairness, let's say one pound costs $1.50.

That pound will fill 3 quart jars (plus a half pint), so that's less than $0.50 in beans

Throw in the $0.06 for the two gallons of water I will use to process and fill the jars and the $0.11 for the stove usage and we have a total of $1.67 for three quart jars of beans for a whopping $0.56 for a large can of beans. If you can beat that price, do it. Stock up. Bring me some.

Realistically, because I buy beans for less than a dollar a pound I don't spend more than $0.31 per quart jar or $0.15 per pint of home canned beans. It's completely worth it for us, especially if I consider that I mostly can in the colder months, so there is a marginal gain in frugality because I am heating up the house while doing it. More math than I care to do, but the thought sure makes me feel all virtuous ;) <snicker>

One last thought: This method lets me throw in a quart or a pint of beans at the last minute when I am processing something else and have room in the canner. That doesn't lower the price of the beans any, but it does mean I am not running a partial load, so to speak. An hour and a half of the gas stove running costs me about $0.11 whether there is something in the pot or not.

That's all I got for now.
Happy Pinching

*At sea level, if you live at a higher elevation, please adjust your pressure accordingly

Thursday, October 3, 2013

HEY, what smells good? Could that be nameless item of a food-type variety?


Looks good, too, and smells simply divine, but then I might be biased...

What we have here is

one dozen eggs, beaten into complete submission ($1.32 because I get them in bulk)

8 medium potatoes (free-ish, grown from ones I would have thrown out because they had gone all soft and sprouty, which is *SO* a word)

a few leaves of chard (definitely free, because I've been harvesting that one head of chard since May, so that one seed has DEFINITELY paid for itself)

some onion greens I cut off the bunching onions that are finally popping in the garden (slackers and let's call it free, the onion bulbs are still there, after all)

a few leaves of herby yumyum out of the garden, two kinds of Basil and some strawberry spinach that self seeded itself in a pot (Not entirely free, I did buy one of the Basils as a microscopic little plantling, so call it $0.05 for the 4 leaves I plucked off that one)

Spices and home made ranch mix (call it $0.50, even though it's probably closer to a few cent)
-a few pinches of black pepper, a few of ground fine oregano, a sprinkling or 5 of ground garlic, basically seasoned to taste and in our case to repel vampires, it is October...

an hour and a half in the oven, so maybe another half a buck? ($0.50 but it's probably much closer to the national average of $0.11)

at least 6 meals for $2.37, let's be fair and amortize the cast iron enameled crock and the miscellaneous items I am counting as practically free and call it an even $2.50, which is still only $0.42 per meal, and that's if we absolutely gorge ourselves. There's a lot of food in that pot, and it's really quite filling.

Calling it a win. Especially because those potatoes were in danger of following their 'parents' in becoming soft and sprouty (we've had this argument, it's completely a word, trust me), so this is actually mostly a braggathon about using something up that was in danger of going over to the dark side.

I don't have a name for this dish, because let's face it, not only did I make it with stuff I had laying around, I also probably will never re-create it exactly like this ever again. It's kind of how I cook.

The basic underlying principle here is that you take some eggs, season them up in a way that you know will appeal to your palate (if you've never done that, go easy, you can always add more, taking out is a bit more difficult), then beat them like they cut you off in traffic, add some cut up potatoes (the smaller the pieces the faster this will cook), some other veggies you have on hand (chard, peppers, onions, green beans, zucchini, asparagus, you get the idea), cut those up into manageable pieces and stir the whole thing, then pop in the oven at 350 for an hour and a half, or less, depending on how deep your dish is (mine is pretty deep and it's kinda full) until the potatoes are tender and the egg has set, a toothpick is rather helpful in determining this. No eggy goo and goes in nice and easy: It's ready to devour, which trust me, you will want to :)
That's all I got for now.
Happy Pinching

Sunday, August 11, 2013

Why we need a bee hive

Market more, white wonder and sikkim cukes

I desperately need them to lick my plates clean. No, wait, that's what one gets dogs for. Or is that teenagers? I forget.

No, the reason is that between the roughly 40 cucumber plants, the 12 butternut squash plants, the 10 zucchini plants and the 14 acorn squash plants, all of whom are healthy, vigorous and producing scads of both male and female flowers, this is what I am harvesting. Note the shriveled, sad little nubs at the blossom end of the cucumbers? That's an indicator that they are not being completely pollinated. And what you are not seeing here are the tiny infant fruit that just wither up and fall off the vine, never to see the inside of a pickling crock or delight my tongue in other ways.

I see some bees flying in, I get to pet the bumble bees (mostly because it freaks the hubbin out), but it's looking like there is not enough pollination happening. And what I'm not seeing is the vast number of honey bees that I have seen in years past, swarming and almost obscuring the plants during the warm afternoons, adding their happy buzzing to the soundtrack of my back yard.

Even more worrisome is that this is not just our experience, I am hearing it from most people I speak to. No midnight drops of surplus zucchini, no cries for help on how to process the half ton of cucumbers that ripened over night, not seeing/ hearing/ feeling it at all.

So the plan for next year is to not only plant tons of pollinator attracting flowers, but to also have a hive in residence. Hubbin is allergic (think epi-pen) to bees, which has been the reason we have not done so yet and this will be something he cannot help me with and we will have to be very careful where we place the hive, but this year is the final straw. No bees means no harvest. No harvest means no food.

Have you hugged a bee (keeper) today?

On a (circuitously) related note: The chickens went to live elsewhere, there's a few posts in the making about lacto fermenting and it's been kinda crazy here, so my apologies. Look for more posts soon.

Happy Pinching

Sunday, July 14, 2013

Mosquitoes and Catnip

We have both in abundance. Only one of them on purpose.

Catmint/Catnip flower, purdy, ain't it?

We also have quite a few vanilla beans on hand at all times (hey, vanilla, how can one go wrong?) because we like to throw them in when brewing...

So, here's a little recipe I use to fend off the mosquitoes when I do a half hour of yard work. That's about as long as this concoction is effective and I do small increments of work to break up the larger tasks, it all works out.

Catnip (also known as Catmint for reasons that elude only those who have never seen the plant next to spearmint), a few handfuls of mostly leaves.

Vanilla bean if you have it, vanilla extract if you have it, has to be the real thing and probably shouldn't be sweetened. (Don't use the vanilla flavoured coffee sweetener you have in the cabinet, it doesn't work. At all.) This is optional and smells good, the main thing is the catnip. Also, for the vanilla, a little bit goes a long way, think drops for a quart of infusion.

Alcohol. You can use cheap vodka or other cheap, clear, unflavoured distilled alcohol that is at least 50proof/100%, but I personally consider this alcohol abuse, so I use rubbing alcohol of the 91% variety. Significantly cheaper and since noone will be imbibing this it's all good.

Cut the catnip and vanilla beans (if you have them, if you are using extract you would add that to the final infusion) into small pieces, you want to get a lot of surface contact without creating mush. Put the whole shebang into a container, add the alcohol and shake it up.

Every day or so. We keep it on the kitchen counter by the coffee, so we don't miss it ;).

For at least two weeks, but longer is better.

catnip infusion, better late than never, right?


Mix this infusion 50/50 with water in a spraybottle and apply just before exposure to mosquito infested areas (Amazon jungle, Mekong delta, Michigan/Florida, my back yard). You'll be good for about 30 minutes, after that you will want to re-apply or go back inside and eat ice cream while the bloodsuckers bang on your back door, pretending to sell girl-scout cookies.

For the price of rubbing alcohol and a spraybottle and if you so chose a bit of vanilla you have all natural mosquito repellent that actually works. How cool is that?

That's all I got for now,
Happy Pinching :)

Sunday, July 7, 2013

Follow up to dehydrating potatoes

This is a follow up to this post, to clarify something and answer a question:

The question was why do I peel the potatoes before I rice them, rather than let the ricer do that work for me?

I peel potatoes before I run them through the ricer because I do batches of 20 to 40 lbs at a time in order to maximize my savings. Running 2 trays on the dehydrator is only marginally less energy intensive than running 12 trays, so I load that baby up.
At that point it becomes more work intensive and time consuming to pull the peel out of the ricer after each half potato than it is to sit in front of the TV and peel them en masse, then rice them ditto.

If I was ricing four potatoes I would not peel them first, as this does add an extra step.

It's all in the application and what works best for you ;)

K, back to work here at Pinch Manor.

Sunday, June 16, 2013

Turkey squeezings!

Well., not really Turkey squeezings, but definitely squeezing that last little penny out of that Turkey; and on that note: thank you, wonderful neighbours who let me have their turkey carcass after feeding us dinner. Turns out I have no shame and will ask for other peoples proto-refuse (This bird was cooked in a green egg and I am green with envy and BBQ lust, it was YUM-MY)
Turkey carcass with ginger bug in upper left corner and steam juicer inset on the right, I are multitasker
.
Doesn't that just look delicious? And there was sooooo much meat left on that bird I almost made enchiladas. If you haven't figured it out, I'm doing a step by step on how to make turkey broth powder :)

Step one: Obtain Turkey carcass. Skin, bones, meat scrapings, basically what is left after the meal. This is the same process as one would use to make any other poultry broth, btw, so don't think you need to limit yourself to turkeys. Beef is a bit different, next time I do beef I'll do a post about it :D


 Step two: Put the carcass into a large enough slow cooker to cover it all with water. If there is grain based stuffing, you want to remove that, but veggies, fruit and herbs are perfectly fine to leave in there. This is when you add any seasonings you want in there. I used garlic powder, mixed herbs and salt and pepper.


Step three: Add any vegetable left overs you have laying around/ in the freezer (you DO keep your vegetable leavings in a bag in the freezer, right? Everyone has that bag, right? I'm NOT weird, stop saying that).

Step 4: Add enough water to cover the whole shebang and set that baby on high, go off to do other things for about 16 hours, just stir every now and then and at some point taste it. The bird was cooked before taking this bath, so you are safe, but I do like to let it go for a bit so the flavours can mingle and get to know each other. This is what your re-constituted broth will taste like, so make it work for you. Here's what you are looking to get:


I wish I could take a picture of the smell, it's simply divine.

Step 5: Using a pot large enough to accommodate all of this, or several pots until you have reduced the volume enough, strain the bones and vegetable matter out. If you are canning this you will want to strain it much, much better than what I am doing here, which leaves some bits in, just get the majority out.


Step 6: Boil it all. Then boil it some more. If you cannot do this outside, your kitchen will become a steam room/sauna, so make sure to wrap yourself in a towel and enjoy the experience. Here's what you are looking to achieve:


Notice the lack of about 8 and a half quarts of liquid? Yes, my skin is baby soft and my entire house smells like Turkey, thanks for asking :D That's about a cup of liquid, it's noticeably thicker than water.

Step 7: After that has cooled a bit, load the liquid on fruit roll up trays for your dehydrator


Set to 160 degrees F and let her go


until you have this:


Takes about a day and a half.

Step 8: you know your broth is completely dehydrated when you can do this:


What I'm doing here is simply pressing on the back of the roll up sheet and the dehydrated broth comes right off. If it sticks it's not done. Unload all of your trays (the thinner the layer, the quicker it dries) and crunch them up


Then crunch them some more and if you feel so inclined, run them through a food processor or use a mortar and pestle to create powder, just be quick about it, this stuff WANTS water. As in, if you just LOOKED at the faucet it will stick to your fingers. You can just break it up small enough to fit your jar, consistency does not affect the taste, it does however re-constitute faster if powdered. And it's easier to measure.

Result:


Homemade, dried and powdered turkey stock. All ingredients that I know and can pronounce (but then, I speak German, so that's probably a weird litmus) and lovely stuff I can use in my dried soup pre-mixes without worrying about what might be in it.

I keep it in the fridge or freezer, but it's perfectly fine in the pantry for at least three months. It does have trace fat in it and it's a meat product, so some caution is advised, but it's also pretty salty in this state, so if it smells good (and boy howdy, does it ever), it's fine.

I also make a second brewing of the turkey carcass, with more vegetables and seasonings added, that's the broth I freeze or can.

Aside from taking about 3 days to make, this broth is easy to make, actually pretty low effort and cost me next to nothing. The carcass was free, and even if not, it's using something that is a by-product of eating poultry, the vegetables are also by-products of something we already ate, the seasonings are pennies at best and the fuel is probably around $1. So for a very generous estimate of $2 (no, I'm not going to figure out what the cost of the bones was by weight, because 1. I don't know what the turkey cost, 2. I didn't weigh the carcass and 3. Even if I had bought the bird, I would have considered the entire weight as part of the meat and accounted for it that way, so in MY house bones are free, YMMV) I have the equivalent of 2 jars of organic/preservative free (OK, salt, stickler, you) broth base. I'll take it.

That's all I got for now,
Happy Pinching :D

Wednesday, June 5, 2013

Quickie :D

I am a complete wimp when it comes to cutting onions.

Complete.

Wimp.

I cry just thinking about it.

A lot.

We're talking snot running, eyes streaming, can't see, can barely breathe, just all around bad picture.

Yet I grow onions in just about every nook I can find in my back yard and I still buy them in 50lb bags because I basically don't cook without them.

OK, maybe chocolate pudding. And Ice cream, but that's it.

So what's a girl to do?


Observe my onion cutting goggles. Don't cut onions without them.

They are just your run of the middle swim goggles. You can get them just about anywhere. Here, there, everywhere.

That little trick right there completely eliminates any and all onion cutting related crying at Pinch Manor.

They also make me look slightly psychotic, but hey, can't have it all...


Wednesday, April 24, 2013

Why would I put up a picture of my dinner???


Well, because this is a meal that has absolutely no preservatives in it, everything is made from scratch and quite a bit of it did not come from a store.

That brown, deliciously gooey looking substance is venison stew, made with onions, home made broth from last years chickens, some mushrooms I dehydrated last year, some of this seasons sunchokes and thickened with the potato starch from this post. From the same post we have the instant mashed potatoes, seasoned with butter and some chives I stepped out of the back door and cut off one of my plants while the water was coming to a boil.

I bought the onions (they are one of the clean 15 and we ate everything that came out of the garden last year before it made it through the door, so I bought a few 50 lb bags), the potatoes, the mushrooms and the butter.

Because we had the venison courtesy of friends (thank you Brent and Linda) this meal (and the roughly 6 more portions of it that are there and the two hubbin and I already had) cost a total of $ 2.00. And that's being generous. So we're looking at 20 cent a meal. And that's a nice meal right there.

The stew cooked in the slow cooker over night, so hubbin could take some for lunch, which he did. Quite possibly gleefully.

Alright, I'm gonna go ahead and eat now, y'all have a good night :D

Happy Pinching


Monday, April 22, 2013

Sourdough English Muffin recipe


  • ½  cup Sourdough starter (this can be replaced with 1/4 cup flour, 1/4 cup water and a teaspoon of instant yeast if you don't want the sourdough taste or don't have a starter)
  • 1 cup water
  • 2 cups flour, I mix mine about ¾ all purpose, ¼ whole wheat
  • ½  cup homemade instant potatoes (how to) or sweet potato powder (same thing, just sweet potatoes instead of potatoes). This can be replaced with either additional flour or ground up oatmeal 
  • 1/3 cup instant dry milk powder
  • Pinch of salt
  • ½ cup water
  • ½ cup flour
  • Handful of cornmeal to coat the surface when ready
  • I sometimes (read, when I remember) add in some flax seed, think ¼ cup, this doesn’t really affect anything.


This is an overnight project, I usually start this on a Friday night for Saturday brunch.

Combine the first 4 ingredients; mix well, about 5 minutes.

Cover and let stand over night.

The next morning, uncover and stir in the dry milk powder and the pinch of salt.

This is where you will use either the water or the flour. The consistency you are looking to attain here is somewhat drier than oatmeal, but still fairly wet dough. Something that you can roll out and cut, but not a dough that will hold its shape.

Roll out onto a floured surface, about ¾ inch thick. This makes a nice, thick muffin, which is how we like them; if you prefer yours of average thickness, roll out to no more than ½ inch thick.

Using a round cutter; cookie cutters work well, but I use an empty tuna can to do this; cut out your rounds, transferring them immediately after cutting (no cutting all, then transferring, this is sticky dough and you want it to be) onto a cookie sheet that has been covered with cornmeal.

Do not let the rounds touch, they will form an unholy union and you will have to go in there with a knife. Save yourself! Leave space. 

Sprinkle corn meal over the tops of the proto yum.

Cover and let rise in a draft free, warm space until they have doubled in thickness, somewhere between 45 minutes and an hour. I usually set my timer for 45 minutes, and then start to heat up my skillet.

In a well seasoned, lightly greased cast iron skillet (sorry, I have no advice for any other type of pan, apparently I’m a purist snob) you will cook these muffins for about 5 minutes on each side.

Here’s the rub: I can’t tell you what temperature to cook them at, I have no clue, I would say somewhere in the middle of the temp range, but I cook these things over open flame, so no adjustments for me. The trick is to look at the side of the muffin, there is that golden moment when you see the dough change. You'll know it when you see it, trust me. It's this translucency and slight lifting. That’s when you flip them. Sometimes that takes 5 minutes, sometimes it takes 3. Expect your first batch not to look perfect. They’ll taste fantastic, though :D and the burned bits scrape off...I read that in a book, yeah.

Another thing I simply cannot tell you is how long they last. No clue. And you will likely also never know ;)

Why English Muffins you ask?

Well, several reasons:

We love them, there’s a reason you are not seeing any pictures. (I promise solemnly to try to remember to take some the next time I make these and add them to this post. Not promising anything without bite marks, this dough goes like frozen cookie dough in this house)

They are actually really easy to make

It’s a sourdough breadlike substance I can make without using the oven, so they are pretty much what we eat in the summer

I can pop a pan onto the rocket stove and cook them outside, so I don’t heat up the house and use up twigs from our trees instead of gas from our gas company for fuel (guess which one we pay for)

Have I mentioned we love them?

They are better than anything you can buy

This dough travels well and there is something about going camping and making these over the open fire in the morning that just can’t be beat :)

They are pretty darn cheap. Delicious and cheap. 

Thursday, April 18, 2013

Adventures in dehydrating


Because the ingredient list in commercial instant mashed potatoes is longer than my arm and mostly completely unpronounceable (and I usually make my morning cuppa with dihydrogen monoxide); and because we NEVER eat the whole bag of potatoes before they become something from a horror movie (potatoethulu anyone?) that gives me nightmares when I look into the potato box; I dehydrate a lot of spuds in various forms.

And because I am me, I’m also going to dehydrate/freeze some of the $0.29 a pound bananas I found and for good measure throw in the sad looking ginger I was going to candy, but completely forgot about until I started this process (thus the afterthought pic).


K, this is what I am starting out with:
10lb bag of potatoes, not organic, cost $2.98
9.72 lbs of bananas, cost $2.82
Mangy bits of ginger I bought so long ago I forgot what I paid or how much they weighed, but I’ll be generous and call it $0.50, ‘cause I know I would not pay more than that.
Little bit of lemon juice, call it $0.10
Gas for the stove and electricity for the dehydrator/grinder/lights so I can see, water to wash/boil/rinse with, fuel and maintenance portion for the grocery run during which I acquired these items, amortization cost of items used during the production, call it a buck (it’s less, but I’m gonna just be lazy about it, this is about dehydrating, not higher math with fractions): $1.00
Total cost of this exercise: $7.40

First thing I did was to decide what I want these potatoes to be when they grow up. We LOVE, and I mean LOVE mashed potatoes. It’s our go to food when we want comfort food, there is just nothing out there that can beat mashed potatoes and chili for comfort when you need it. So that’s one part. We also adore latkes/Kartoffelpuffer/potato pancakes, whatever you want to call it, we love them, so that’s the other one. I split the bag into about 2/3 mashed, 1/3 shredded.

I’ll try to go step by step here, but the process runs sort of simultaneously, as in I did the ginger and the bananas while the potatoes boiled and then cooled and I blanched the shredded potatoes while I peeled the mashed and so on, so there is definitely some overlap.

Boil the potatoes that will become mashed yumyum.

Peel and cut up the Ginger, put into cool water with a bit of lemon (no autocorrect, I did not use any lemmings in this exercise) in it.

Put ginger bits onto drying rack with screen so the little bits don’t fall through.

Start running dehydrator at appropriate temp (I try for about 130 degrees, I like to go a bit slow).
Peel and cut bananas, put into lemony/gingery water (this will keep the banana slices from oxidizing and brown as they dry).


Drain boiled potatoes, leave to cool off for a bit.

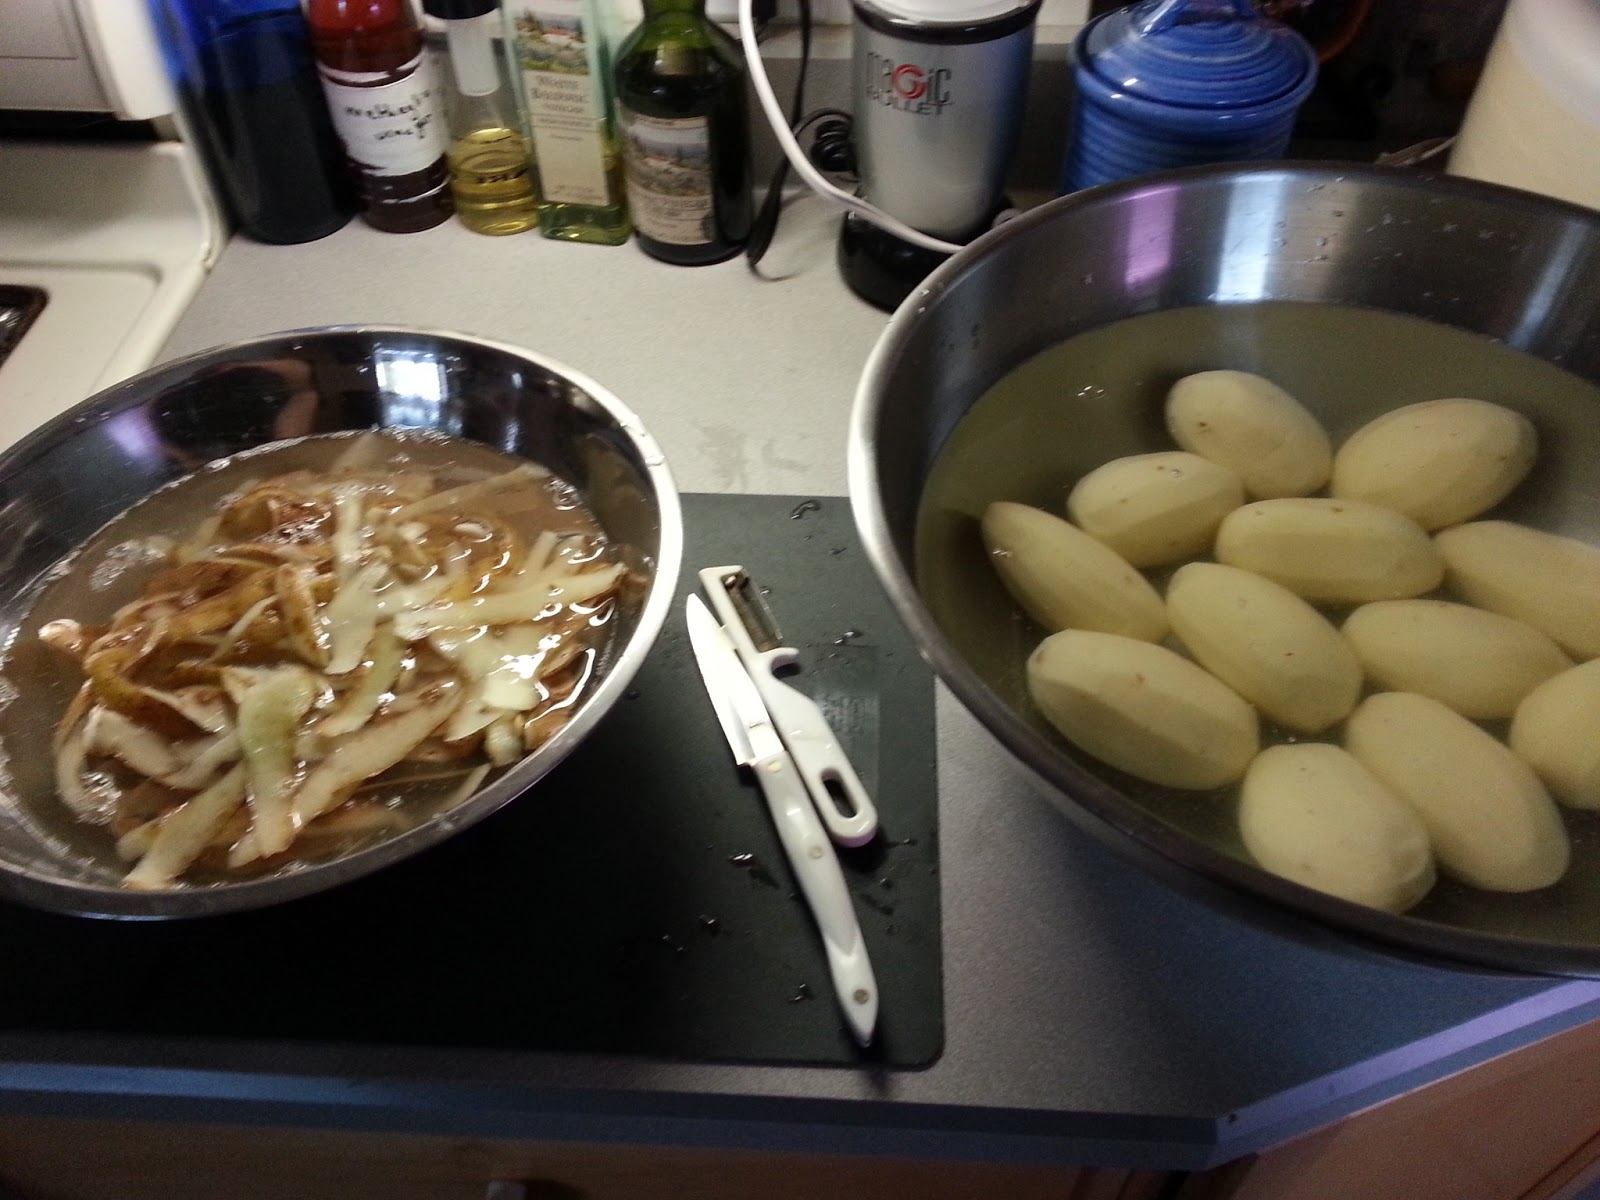
Peel potatoes destined for latke-y greatness, put the peels and the potatoes in separate bowls of water, I’ll explain/show why later.

Set enough water on to boil to blanch the shredded spuds.

Shred the raw potatoes into the bowl that holds them.


Put banana slices on dehydrator trays and start dehydrating.


Grab shredded potatoes out of water, sort of squeeze/drip as much as will come off, then put into boiling water to blanch for a few minutes (about 2 for fine shred, 5 for thicker slices).

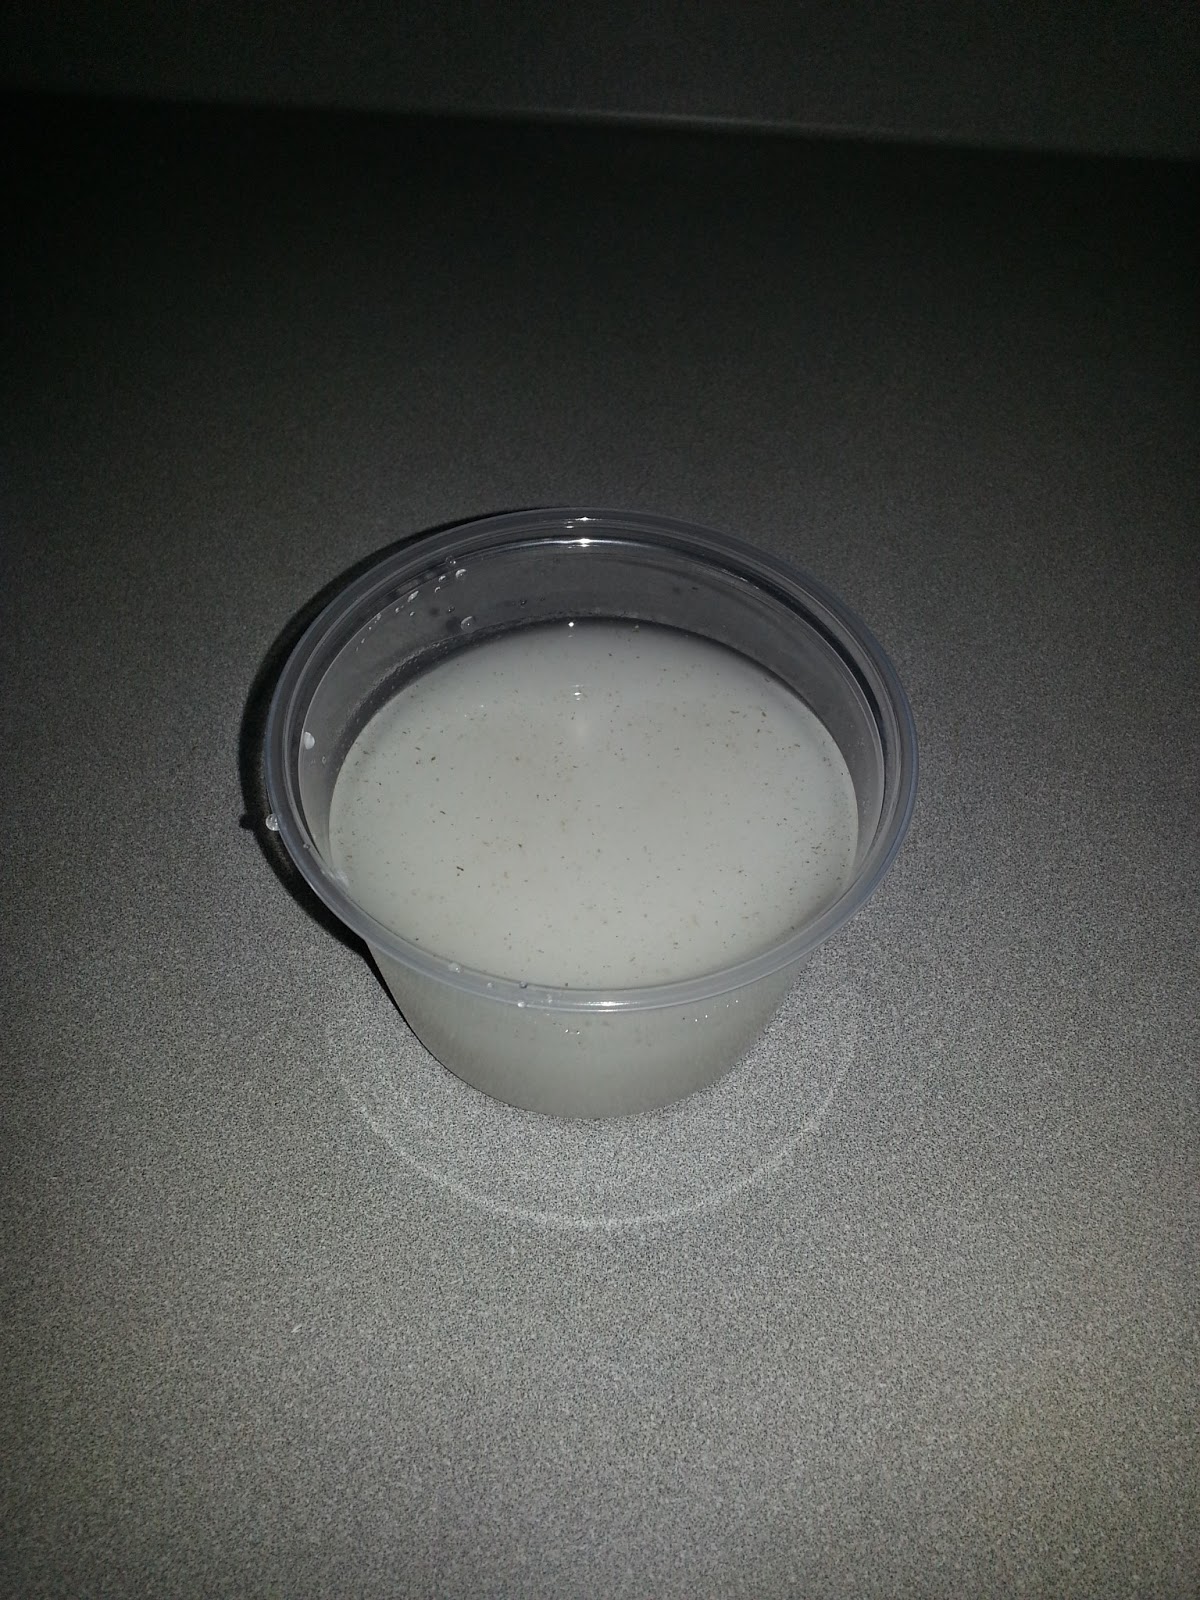
Take the leftover shred water and combine it with the water the peels are sitting in, make sure to get the sediment. This is potato starch, used for thickening sauces. Go ahead and take out the peels, again, leaving behind the sediment.

Drain shredded potatoes, leave to cool a bit.

Peel boiled whole potatoes.

Put shredded, drained, slightly cooled potatoes onto dehydrator tray, I use salad forks for this and I use a fruit roll up tray for the bottom one because I shred them fine enough to fall through.

Begin dehydrating.

Rice the boiled potatoes.

Why I peel before I rice (you don't have to, the ricer will keep the peel back) here

Mash the boiled potatoes a bit more with a fork (this is optional, I feel it gives a better result)

Spread the mash on fruit roll up trays, begin dehydrating.

Pour off the by now clear water from the potato starch, add more water and swish it around, pour the whole thing through a strainer into another bowl to get the bigger bits out, discard bits. Let settle, pour off water, add fresh water, let settle, pretty much repeat until no more floaty bits come up, then pour off the clear water and let the starch dry, then break it up and put in an airtight container, use to thicken delicious gravies.


Enjoy rest of afternoon, having high tea/watching TV marathons/protesting for whirled peas/insert your own way of doing other stuff while the dehydrator does its thing pretty much over night (I cleaned the kitchen, played with chicks, slept, cleaned the living room, did some laundry, and drank obscene amounts of coffee).

Depending on humidity, temperature, thickness of items to dry, in this case about 16 hours later, begin unloading dehydrator:
  1. Tipping the trays upside down over a bowl has proved to be the easiest for me.
Break up shred and fill into clean canning jar.


 Put oxygen absorber into jar, seal with vaccum sealer. Or put into other airtight container, the OX-ex and vacuum are completely optional (but I *do* recommend them).


Lable your product. Trust me.


Put mash sheet into bowl, break up enough to fit into grinder

Grind mash into powder, I run this through a flour sifter and basically keep grinding until it’s all fine.

Seal jar in whatever manner you decide on (I think we all know what my method is, right? That stuff wound up in a canning jar after I took the photos)

BTW: Here is why I dehydrate: What you see is a 10lb bag of potatoes:


Flip tray with bananas upside down over bowl (you did clean out the potato leavings, right? I don’t have to say that, right?) and poke them with a stick. I use bamboo skewers for this.


Pack as many banana chips as you can save from your resident scavengers into an airtight container.
Could you at least wait until AFTER I take the picture?


Pick the ginger off the tray, grind and put in airtight container. 

Gratuitous picture of ground ginger:


6 of the bananas wound up in a freezer bag, ready for banana nut bread. Did I mention that I got these for $0.29 a pound? That’s half of what they usually go for around here, I went back for more…


To re-hydrate the potatoes:
 I put the shred in a bowl of hot (not boiling) water for about 15 minutes, drain and cook as though they are fresh.
The mashed are even simpler: 1 cup of powder to 3 cups of boiling water, let sit for a minute, season (mmmmmh butter and garlic), enjoy.
The ginger is in the spice cabinet and the bananas are pretty much gone, because frankly I can’t make chips as fast as the hubbin eats them. 

Here is a before and after picture: Missing in the after pic are the 6 bananas that are in the freezer and the one banana the hubbin ate while I wasn't looking:


I don't know exactly how much money this effort is saving us, because I cannot quantify the financial health benefits from eliminating artificial ingredients and because I haven't bought banana chips or potato starch in years, but I do know that just that little bitty jar of instant mashed potatoes would cost more to buy than I spent on all of this combined and it would be laced with stuff we don't want in our food.

I am not going to go into how much my labour is worth, since what you see here represents no more actual hands on time than preparing mashed potatoes from scratch for dinner and definitely less time than it would take us if we ran out every time we want one of these ingredients for a meal or snack. 

That's all I have for now.
Happy Pinching