Monday, April 29, 2013

Weirdest looking chicken ever, squatting in the stripped down coop


That is the chicken coop in a state of dis-assembly that will allow us to move it to its new location. Basically stripped down to nothing but the bones.

Actually, since we are here, this is a quick run down of what you are looking at:

This is the coop we built last year, it's a (extensively) modified design I saw of a coop that accomodates 4 chickens, we will have about 30 long term, so needed more space.

It's a  6+ foot tall, double story coop, meaning that the layer you see in the middle is the upper story, there is chicken wire flooring in there to give the girls more space to spread out. You can see the ladder going up to that level. The grey, furry looking squatter chicken is sitting on one of two perches. We did this to maximize the square footage for the chickens and that so we would be able to keep them in the coop for a few days when we are gone for a long weekend.
The roof is corrugated plastic of some sort.
The triangular, window looking thing on the facing side of the coop is just that, it's an opening that is covered in chicken wire and has a cover that closes it off in inclement weather, the opposite side of the coop is similar, except instead of a wood surround with wired window, it's just wired and covered with a solid piece when needed.
The lower portion is enclosed with chicken wire except for the exit.
The two bottles that are zip tied to the frame you can see in the front are how the chickens get their water, they are gravity fed nipple equipped.

We've stripped the wooden walls off and will make some modifications to the design, largely because the tall end will face a wall (entrance has to move) and because we want to be able to walk into the coop, so part of the second story will have to be cut out and re-finished. We will likely also change the 'flooring' of the second story, since the chickens did not like walking on the wire and we kept it covered with cardboard, but that is a nightmare to keep clean, so there is a change coming with that as well. We previously had roosting boxes in the coop, but have decided to have them as protrusions from the short end of the structure, to make them easier to access (lemme tell you, crawling into a 3' tall chicken enclosure to get the eggs laid in the back corner is not fun,which is why I decided that it's a mans job and made the hubbin do it).

I'll put a post together with what we wind up doing once it's done along with what didn't work and why, since some things are not fully decided because they depend on material cost and how the re-design winds up working out.

Here is a close up of that weird looking chicken:


Methinks we may have to build the cats a coop of their very own at some point.

Friday, April 26, 2013

Non-compliant chicken video

This was intended to show the chickens playing keepaway with some chunks of strawberries (yes, they are spoiled...AND?), which is hilarious and adorable, but they are non-compliant little party poopers.


Instead, let's take a look at the set up they are in right now:

It's a wooden frame that is 6 x 8 with 3/4 inch PVC pipes over it and plastic garden fencing (I think) with roughly 1 inch spacing over that, zip tied together. Yes, I rigged it with stuff I had laying around.

This set up is movable, basically I pick up one end and slowly drag it along while the chickens complain loudly and fight me the whole way. It's an intermediary step, they are in the garage until the weather is warm enough for them to go out into their permanent pen.

They don't have a water dish because I am lazy and changing out their water because they pooped in it got really old, really fast. Soooo they are on chicken nipples. (I'll put together a post with linkies to all the places I buy this stuff soon, I have to remember where I got them) The bottle with the blue cap, hanging there is how they drink, there is a gravity controlled watering nipple (really, there is no better way to describe it) in there. It's a sparkling water bottle (I'm spoiled, too...AND?) that I am suspending in one of the legs of a pair of nylons that has gotten a run in it.

Those things are incredibly useful, btw, I NEVER, EVER, EVER throw them out until they have served some other purpose, but I digress.

The metal round thingy is a 30 lb suspend-able feeder, so I don't have to run out there and feed them every day. I did mention I am lazy, right? Also, we sort of want to be able to go away for the weekend every now and then and not have to have someone to watch the clan, so being able to hook the feather beasts up for a few days is actually kind of high on the priority list.

They have a few sticks to climb on, because, well, spoiled and there is the sleeping area that is still getting the heatlamp treatment at night, with a few bottles suspended for that little midnight sip.

I do occasionally give them about a tablespoon of sugar in one of the bottles (2 liter), because I'm just not worried about their baby teeth, we'll deal with that when we have their wisdom teeth removed...OK, really it's because it gives them a bit of energy boost and they are growing so fast that a bit of extra caloric intake is quite welcome.

They are on 24% protein feed for probably another week or two, at which point they will go to 20% protein feed until they start laying, and then layer feed and free access to a calcium supplement. Today was the first day we offered them kitchen scraps (you didn't think I bought them strawberries, did you?), so I am now offering them chick grit, to help them digest their food.

That's what I got for todays episode of adventures in chicken raising. Stay tuned for the next episode on how we will be paying for their college ;)

Happy Pinching

Wednesday, April 24, 2013

Why would I put up a picture of my dinner???


Well, because this is a meal that has absolutely no preservatives in it, everything is made from scratch and quite a bit of it did not come from a store.

That brown, deliciously gooey looking substance is venison stew, made with onions, home made broth from last years chickens, some mushrooms I dehydrated last year, some of this seasons sunchokes and thickened with the potato starch from this post. From the same post we have the instant mashed potatoes, seasoned with butter and some chives I stepped out of the back door and cut off one of my plants while the water was coming to a boil.

I bought the onions (they are one of the clean 15 and we ate everything that came out of the garden last year before it made it through the door, so I bought a few 50 lb bags), the potatoes, the mushrooms and the butter.

Because we had the venison courtesy of friends (thank you Brent and Linda) this meal (and the roughly 6 more portions of it that are there and the two hubbin and I already had) cost a total of $ 2.00. And that's being generous. So we're looking at 20 cent a meal. And that's a nice meal right there.

The stew cooked in the slow cooker over night, so hubbin could take some for lunch, which he did. Quite possibly gleefully.

Alright, I'm gonna go ahead and eat now, y'all have a good night :D

Happy Pinching


Chickens through the ages (or days, really days)

We received our current set of teensy, tiny little (and normal sized) chicks on March 25th, 2013. They were about a day old, and I took pictures:

This is a bantam Aurucana chick. See the adorable little cheek puffs and beard? Adorable. 

how is this sideways?

A bit about the chicks we received (numbers here): This one, while I know that it's an Aurucana and a Bantam, might be either a rooster or a hen, we won't know until it either crows or lays an egg. Crowing, because we live on a scant acre in the city and have neighbours we would like to continue having a courteous relationship with, will be a death sentence. So as I look at these little peeps I encourage them to be girls. 

That's the deal with farm animals, the males are largely superfluous eaters that are culled as soon as identified. What we farmers (full scale, urban, hobby or any other type you can think of) are interested in is largely what the females can provide: Babies and the byproducts. For chickens this clearly means eggs. Don't need a rooster for that. Chickens will lay eggs without one. And these girls will. Sorry dudes. That freezer related post will be very sad. 

On to happier thoughts. If (please) this chick is a girl she will lay blue/green eggs. This is why these birds are also sometimes called Easter Eggers (side note: this is not 100% accurate, there are several different breeds that are sort of mashed together, but I'm not a breed expert and have to defer to them for accurate identifiers and for my little inner city backyard flock that is not going to go to shows I don't care all that much). Because it is a bantam chick (they are about 1/4 to 1/3 the size of a normal chicken) her eggs will be smaller as well. So I am in fact looking forward to small, greenish-blue eggs from my tiny chickens.

Here's a size comparison, bantam to normal sized chick, same age:


That right there, by the way is another Aurucana, next to a Black Jersey Giant. They start out normal sized and then just keep growing and growing and growing until they are the largest chicken to be had. These guys lay large brown eggs. 

I completely spaced taking any pictures of the Barred Rocks (also known as Plymouth Rocks, mine are the stripy, black and white kind), so take a moment and try to imagine that black chick you see in the picture above with a little white dot on the top of her head. The Rocks and Giants we have are all girls, so no worries there.

Here's the other kind of bantam we have:


See those fuzzy legs sticking out? This chick (be a girl!) is going to feather out to be a poofy ball of feathers, including the feet. And these guys lay small eggs, too. I think right about September I'll have to do a post about the 9 egg omelette : D

Here's the deal: Having our own chickens is not the cheapest way for us to get eggs on the table. And it's certainly not the easiest. Part of what we are doing here at Pinch Manor is not just about bang for buck, even though that is important, but about quality. I mentioned in an earlier post that by slashing away at our budget and trying to be more self-sufficient we have found a lot of things that we enjoy doing. Having chickens is one of those. They are fun, not all that hard to take care of and provide us with delicious eggs that are better than anything I can buy, along with the firm knowledge that these are happy, pampered, healthy chickens. 

I'll do a post about the how tos and approximate cost of raising these chicks to laying age and an amortization of how many eggs I will have to get out of them before we are in the black for them, but if I am completely honest, I have already gotten enough laughs out of these little fuzzballs to make up for the $45 our electric bill jumped from running the heat lamp for a solid month. They play keep away with each other, they cuddle, they fluff up at each other, they fall over and pretend it didn't happen, they are simply adorable and we don't get that from a box of grocery store eggs. Not to mention that these gals lay eggs that are so much better than what I can buy that we have practically stopped eating eggs since our flock was killed last year.


I'll leave you with a pic of sleepy, day old chicks, basking in the glow of the heat lamp:


Look for more chick pics and info on how to raise them, I am completely overwhelmed by 'teh cute' right now.

Happy Pinching

Monday, April 22, 2013

Sourdough English Muffin recipe


  • ½  cup Sourdough starter (this can be replaced with 1/4 cup flour, 1/4 cup water and a teaspoon of instant yeast if you don't want the sourdough taste or don't have a starter)
  • 1 cup water
  • 2 cups flour, I mix mine about ¾ all purpose, ¼ whole wheat
  • ½  cup homemade instant potatoes (how to) or sweet potato powder (same thing, just sweet potatoes instead of potatoes). This can be replaced with either additional flour or ground up oatmeal 
  • 1/3 cup instant dry milk powder
  • Pinch of salt
  • ½ cup water
  • ½ cup flour
  • Handful of cornmeal to coat the surface when ready
  • I sometimes (read, when I remember) add in some flax seed, think ¼ cup, this doesn’t really affect anything.


This is an overnight project, I usually start this on a Friday night for Saturday brunch.

Combine the first 4 ingredients; mix well, about 5 minutes.

Cover and let stand over night.

The next morning, uncover and stir in the dry milk powder and the pinch of salt.

This is where you will use either the water or the flour. The consistency you are looking to attain here is somewhat drier than oatmeal, but still fairly wet dough. Something that you can roll out and cut, but not a dough that will hold its shape.

Roll out onto a floured surface, about ¾ inch thick. This makes a nice, thick muffin, which is how we like them; if you prefer yours of average thickness, roll out to no more than ½ inch thick.

Using a round cutter; cookie cutters work well, but I use an empty tuna can to do this; cut out your rounds, transferring them immediately after cutting (no cutting all, then transferring, this is sticky dough and you want it to be) onto a cookie sheet that has been covered with cornmeal.

Do not let the rounds touch, they will form an unholy union and you will have to go in there with a knife. Save yourself! Leave space. 

Sprinkle corn meal over the tops of the proto yum.

Cover and let rise in a draft free, warm space until they have doubled in thickness, somewhere between 45 minutes and an hour. I usually set my timer for 45 minutes, and then start to heat up my skillet.

In a well seasoned, lightly greased cast iron skillet (sorry, I have no advice for any other type of pan, apparently I’m a purist snob) you will cook these muffins for about 5 minutes on each side.

Here’s the rub: I can’t tell you what temperature to cook them at, I have no clue, I would say somewhere in the middle of the temp range, but I cook these things over open flame, so no adjustments for me. The trick is to look at the side of the muffin, there is that golden moment when you see the dough change. You'll know it when you see it, trust me. It's this translucency and slight lifting. That’s when you flip them. Sometimes that takes 5 minutes, sometimes it takes 3. Expect your first batch not to look perfect. They’ll taste fantastic, though :D and the burned bits scrape off...I read that in a book, yeah.

Another thing I simply cannot tell you is how long they last. No clue. And you will likely also never know ;)

Why English Muffins you ask?

Well, several reasons:

We love them, there’s a reason you are not seeing any pictures. (I promise solemnly to try to remember to take some the next time I make these and add them to this post. Not promising anything without bite marks, this dough goes like frozen cookie dough in this house)

They are actually really easy to make

It’s a sourdough breadlike substance I can make without using the oven, so they are pretty much what we eat in the summer

I can pop a pan onto the rocket stove and cook them outside, so I don’t heat up the house and use up twigs from our trees instead of gas from our gas company for fuel (guess which one we pay for)

Have I mentioned we love them?

They are better than anything you can buy

This dough travels well and there is something about going camping and making these over the open fire in the morning that just can’t be beat :)

They are pretty darn cheap. Delicious and cheap. 

Thursday, April 18, 2013

Adventures in dehydrating


Because the ingredient list in commercial instant mashed potatoes is longer than my arm and mostly completely unpronounceable (and I usually make my morning cuppa with dihydrogen monoxide); and because we NEVER eat the whole bag of potatoes before they become something from a horror movie (potatoethulu anyone?) that gives me nightmares when I look into the potato box; I dehydrate a lot of spuds in various forms.

And because I am me, I’m also going to dehydrate/freeze some of the $0.29 a pound bananas I found and for good measure throw in the sad looking ginger I was going to candy, but completely forgot about until I started this process (thus the afterthought pic).


K, this is what I am starting out with:
10lb bag of potatoes, not organic, cost $2.98
9.72 lbs of bananas, cost $2.82
Mangy bits of ginger I bought so long ago I forgot what I paid or how much they weighed, but I’ll be generous and call it $0.50, ‘cause I know I would not pay more than that.
Little bit of lemon juice, call it $0.10
Gas for the stove and electricity for the dehydrator/grinder/lights so I can see, water to wash/boil/rinse with, fuel and maintenance portion for the grocery run during which I acquired these items, amortization cost of items used during the production, call it a buck (it’s less, but I’m gonna just be lazy about it, this is about dehydrating, not higher math with fractions): $1.00
Total cost of this exercise: $7.40

First thing I did was to decide what I want these potatoes to be when they grow up. We LOVE, and I mean LOVE mashed potatoes. It’s our go to food when we want comfort food, there is just nothing out there that can beat mashed potatoes and chili for comfort when you need it. So that’s one part. We also adore latkes/Kartoffelpuffer/potato pancakes, whatever you want to call it, we love them, so that’s the other one. I split the bag into about 2/3 mashed, 1/3 shredded.

I’ll try to go step by step here, but the process runs sort of simultaneously, as in I did the ginger and the bananas while the potatoes boiled and then cooled and I blanched the shredded potatoes while I peeled the mashed and so on, so there is definitely some overlap.

Boil the potatoes that will become mashed yumyum.

Peel and cut up the Ginger, put into cool water with a bit of lemon (no autocorrect, I did not use any lemmings in this exercise) in it.

Put ginger bits onto drying rack with screen so the little bits don’t fall through.

Start running dehydrator at appropriate temp (I try for about 130 degrees, I like to go a bit slow).
Peel and cut bananas, put into lemony/gingery water (this will keep the banana slices from oxidizing and brown as they dry).


Drain boiled potatoes, leave to cool off for a bit.

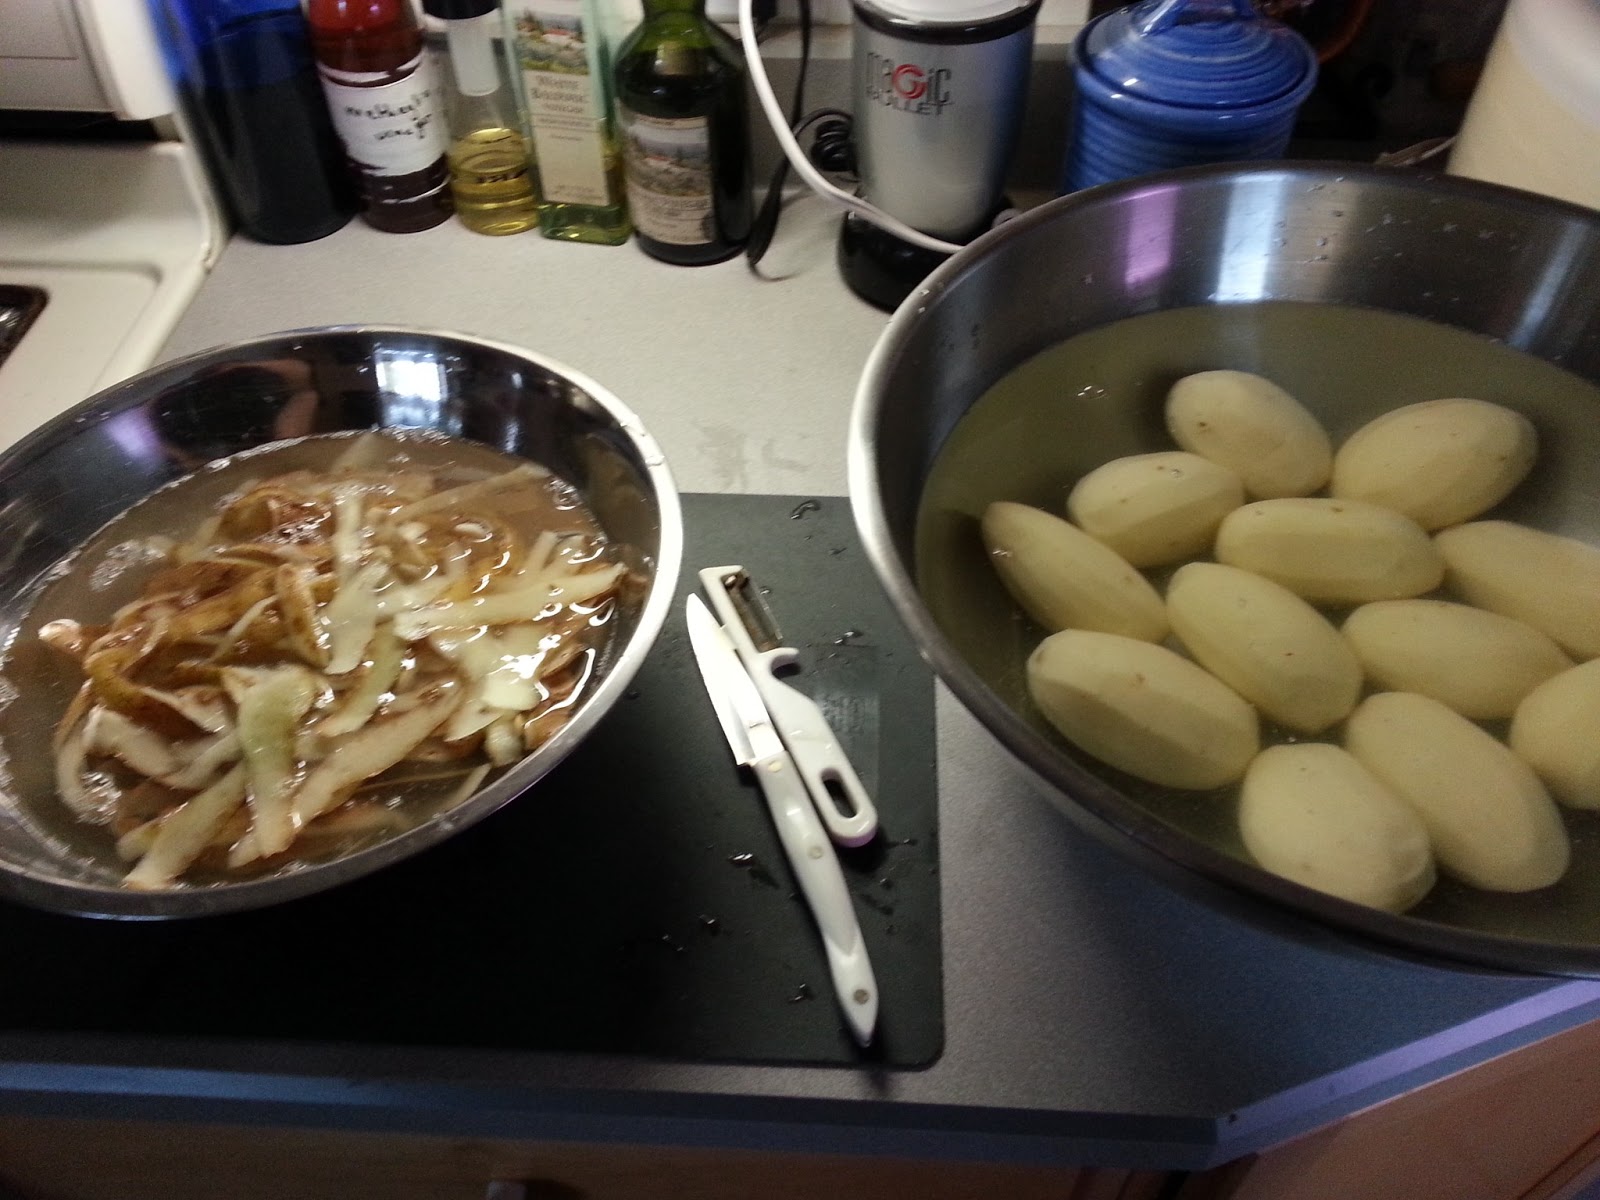
Peel potatoes destined for latke-y greatness, put the peels and the potatoes in separate bowls of water, I’ll explain/show why later.

Set enough water on to boil to blanch the shredded spuds.

Shred the raw potatoes into the bowl that holds them.


Put banana slices on dehydrator trays and start dehydrating.


Grab shredded potatoes out of water, sort of squeeze/drip as much as will come off, then put into boiling water to blanch for a few minutes (about 2 for fine shred, 5 for thicker slices).

Take the leftover shred water and combine it with the water the peels are sitting in, make sure to get the sediment. This is potato starch, used for thickening sauces. Go ahead and take out the peels, again, leaving behind the sediment.

Drain shredded potatoes, leave to cool a bit.

Peel boiled whole potatoes.

Put shredded, drained, slightly cooled potatoes onto dehydrator tray, I use salad forks for this and I use a fruit roll up tray for the bottom one because I shred them fine enough to fall through.

Begin dehydrating.

Rice the boiled potatoes.

Why I peel before I rice (you don't have to, the ricer will keep the peel back) here

Mash the boiled potatoes a bit more with a fork (this is optional, I feel it gives a better result)

Spread the mash on fruit roll up trays, begin dehydrating.

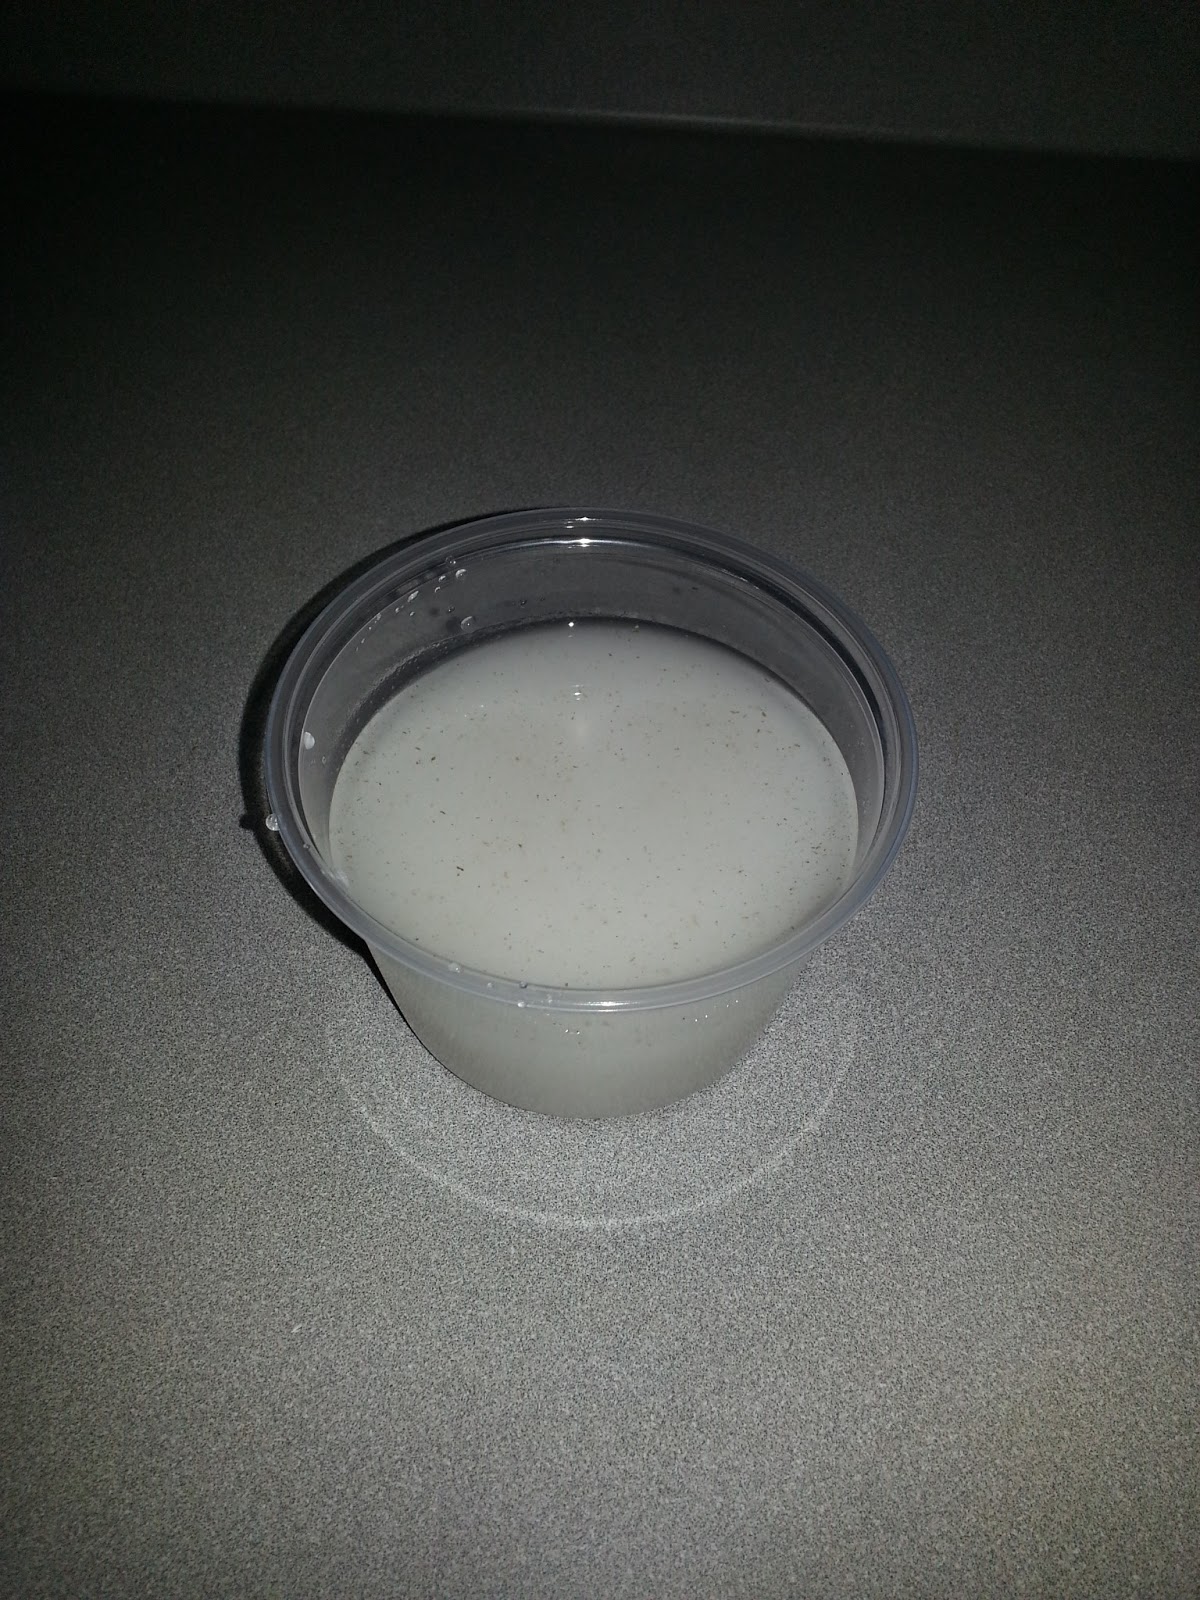
Pour off the by now clear water from the potato starch, add more water and swish it around, pour the whole thing through a strainer into another bowl to get the bigger bits out, discard bits. Let settle, pour off water, add fresh water, let settle, pretty much repeat until no more floaty bits come up, then pour off the clear water and let the starch dry, then break it up and put in an airtight container, use to thicken delicious gravies.


Enjoy rest of afternoon, having high tea/watching TV marathons/protesting for whirled peas/insert your own way of doing other stuff while the dehydrator does its thing pretty much over night (I cleaned the kitchen, played with chicks, slept, cleaned the living room, did some laundry, and drank obscene amounts of coffee).

Depending on humidity, temperature, thickness of items to dry, in this case about 16 hours later, begin unloading dehydrator:
  1. Tipping the trays upside down over a bowl has proved to be the easiest for me.
Break up shred and fill into clean canning jar.


 Put oxygen absorber into jar, seal with vaccum sealer. Or put into other airtight container, the OX-ex and vacuum are completely optional (but I *do* recommend them).


Lable your product. Trust me.


Put mash sheet into bowl, break up enough to fit into grinder

Grind mash into powder, I run this through a flour sifter and basically keep grinding until it’s all fine.

Seal jar in whatever manner you decide on (I think we all know what my method is, right? That stuff wound up in a canning jar after I took the photos)

BTW: Here is why I dehydrate: What you see is a 10lb bag of potatoes:


Flip tray with bananas upside down over bowl (you did clean out the potato leavings, right? I don’t have to say that, right?) and poke them with a stick. I use bamboo skewers for this.


Pack as many banana chips as you can save from your resident scavengers into an airtight container.
Could you at least wait until AFTER I take the picture?


Pick the ginger off the tray, grind and put in airtight container. 

Gratuitous picture of ground ginger:


6 of the bananas wound up in a freezer bag, ready for banana nut bread. Did I mention that I got these for $0.29 a pound? That’s half of what they usually go for around here, I went back for more…


To re-hydrate the potatoes:
 I put the shred in a bowl of hot (not boiling) water for about 15 minutes, drain and cook as though they are fresh.
The mashed are even simpler: 1 cup of powder to 3 cups of boiling water, let sit for a minute, season (mmmmmh butter and garlic), enjoy.
The ginger is in the spice cabinet and the bananas are pretty much gone, because frankly I can’t make chips as fast as the hubbin eats them. 

Here is a before and after picture: Missing in the after pic are the 6 bananas that are in the freezer and the one banana the hubbin ate while I wasn't looking:


I don't know exactly how much money this effort is saving us, because I cannot quantify the financial health benefits from eliminating artificial ingredients and because I haven't bought banana chips or potato starch in years, but I do know that just that little bitty jar of instant mashed potatoes would cost more to buy than I spent on all of this combined and it would be laced with stuff we don't want in our food.

I am not going to go into how much my labour is worth, since what you see here represents no more actual hands on time than preparing mashed potatoes from scratch for dinner and definitely less time than it would take us if we ran out every time we want one of these ingredients for a meal or snack. 

That's all I have for now.
Happy Pinching

Wednesday, April 10, 2013

On budgets (and gratuitous chick vid)


I make a rather bold statement on my page, namely that we (husband, wife, 4 cats and currently 44 chickens) are living on $17,500 a year.

That number represents our budget for household expenditures, including food, housing, car maintenance, gasoline, healthcare costs, gardening expenses, utilities, etc. The things in short one needs and to some extend wants to live (yes, the hubbin could ride his bike to work and save that way, but I prefer my husband non-homicidal and the car pool is working and I could save on the electric bill by using using less electric cooking gadgets and going with muscle-power instead, but I'm lazy and will do that if and when I have to)

We are keeping to this budget in order to pay off some rather substantial debts we have accumulated over a few years of intermittent employment for both of us. We are both VERY adamant about sticking to this budget, even after we are debt free, because we have managed to bring our bills down to this level without sacrificing anything we miss (yeah, we are sort of shocked, too) and have found some rewarding and enjoyable hobbies in the process. We have in fact become frugal. (Scrooge McDuck would be proud)

In the interest of full disclosure, however, I feel that I should add here that we DO go on one yearly vacation that is not part of the stated budget. The funds for that vacation are derived from income that is not steady, is not considered for the debt or household budget and is kept in a separate account for just that purpose. It's a luxury we allow ourselves, work for and toward and give up other things for on occasion (surplus generated in the grocery budget goes straight into this bucket, to give one example, and any income generated through my sales for another).

So, the budget I talk about here represents the monies we allocate for things that are not optional, because much as I would LOVE to not pay the water bill some months, I sort of have to, ditto the mortgage, if I intent to continue living here and staying at least marginally clean, which we do. Things that are optional (vacations, plastic surgery, private planes, starbucks) are not part of it, because they are in fact luxuries, a bit of knowledge the advertising industry works hard to make us forget. And in a way I am glad that they do, because I WANT to hear about new products, I NEED to know that there is something out there I may want. Advertising is an invitation, not an obligation.

I will probably at some point talk about how we finance our vacations and the plastic surgery for the cats, so stay tuned :D

Happy Pinching